The often-overlooked underside of a kitchen cabinet holds great significance. It not only gives structural support rather also attaches the cabinet to the wall studs. For this reason, giving it a proper finish is essential to keep it in top condition.
Now, the primary concern is how to finish underside of kitchen cabinets. Eventually, to complete the bottom of kitchen cabinets, you can choose between a wood or paint finish. Attach a wood piece to the cabinet boxes and create pilot holes for a wood finish. Make sure to sand any rough edges afterward. For a paint finish, clean the cabinets, prime, and then paint the area.
Although the process sounds clear, follow our step-by-step guidelines to make it manageable and straightforward.
Therefore, acknowledge why finishing the underside of the kitchen cabinet is necessary and what you should maintain while doing the job.
Why is finishing the underside of the kitchen cabinets essential?
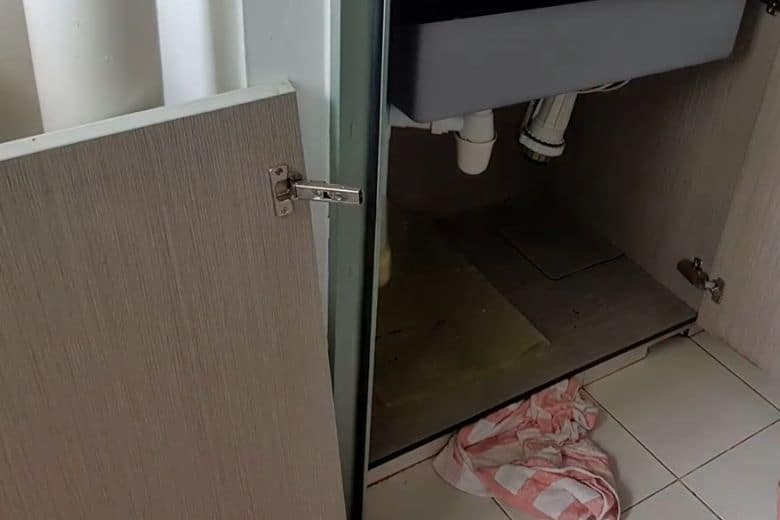
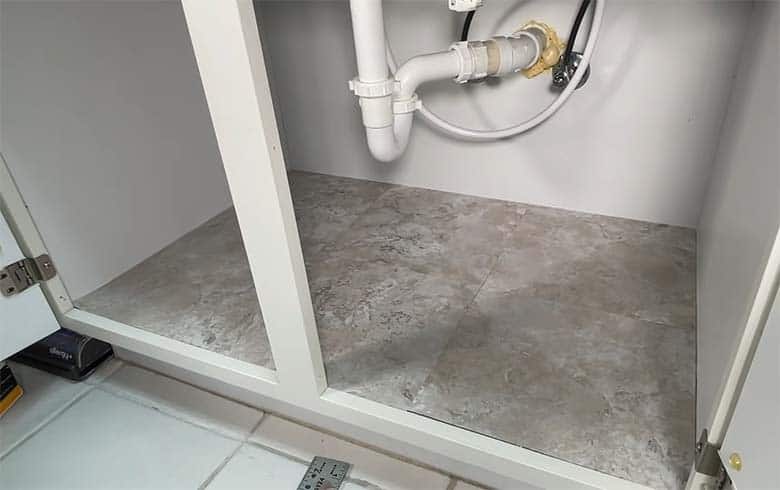
The underneath of a kitchen cabinet is an exceedingly practical aspect of the cabinet. The place offers a great storage solution for items such as pots, pans, other cooking supplies, and even appliances like a toaster or blender. Many people may also store food items such as cereal or pasta here. Nevertheless, it is serious about remembering that if the underside of the cabinet is left untouched for an extended period of time, it may not be as efficient as when it was brand new.
Finishing the underside of kitchen cabinets has several advantages:
- It keeps the kitchen looking neat and organized.
- Protecting the cabinets from damage and securing them for an extended period.
- A simple and affordable way to improve the appearance of your kitchen
- Protects surfaces from moisture and dirt
- Reduces sound, such as from dishwashing
- It can add a decorative element to the kitchen
What are the Considerations when finishing the underside of kitchen cabinets?
Most people don’t usually think about finishing the underside of their kitchen cabinets since the finish can wear off over time. To give them a fresh look, you can refinish them. This process will involve stripping the old finish and applying a new one.
The type of finish you choose will depend on the material used for the cabinets. If they are made of wood, the best option is a wood finish. You can apply a sealer or polyurethane coating. For synthetic materials, you can use a paint finish; you should use a primer and one or two layers of latex paint. However, choosing a finish depends entirely on the cabinet material and type. Although a wood finish is a good idea, if the cabinet is made of synthetic material, you should try a paint finish.
Once the finish is applied, you should take care of it. Water and moisture can damage it, so keep it clean and dry. It would help if you also tried to avoid placing hot pots and pans on the cabinets, as this can also damage the finish.
If the underside of the cabinets is covered with a decorative panel, you can attach a new panel. Alternatively, you can attach a piece of trim to the bottom. You can also use a cabinet liner to protect the shelves from scratches and stains.
Additionally, you can apply a sealer to the underside of a wooden kitchen cabinet.
How to Finish Underside of Kitchen Cabinets (2 Different Methods with Details Instruction)
We have already mentioned two types of finishing are available. Let’s start this finishing with the wood finish process. Below we instruct how to provide a wood finish underside of kitchen cabinets.
Wood Finishing Process
You will need various tools to finish the underside of a kitchen cabinet:
- Drill
- Screwdriver
- Hammer
- Tape Measure
- Level
- Jigsaw
- Circular Saw
- Safety Glasses
- Nail Set
- Wood Glue
- Wood Filler
- Sandpaper
- Clamps
Arrange all tools and be ready to follow the below steps:
Stage 1: For the bottom of the cabinet, cut the wood pieces to the same size as the cabinet boxes. Make sure to measure carefully to ensure the pieces are the correct size. Meanwhile, remember to wear safety glasses.
Stage 2: Secure the cut wood pieces together by applying wood glue and using clamps.
Stage 3: Once the attachment is complete, use a drill to make pilot holes in the cabinet boxes.
Stage 4: Utilize a jigsaw to cut the holes out.
Stage 5: Using a sand block or sandpaper, sand the cabinet boxes to smooth the rough edges.
You can make the bottom or underside of your kitchen cabinets look nice by following our every step and giving them a wood finish.
Paint and Primer Finishing Process
Paints are available that offer both paint and primer features. It is important to note that a primer helps the topcoat or core paint adhere to the surface more effectively.
You will need few tools go to finish the underside of a kitchen cabinet:
- Cleaner or degreaser
- Cleaning patch or rag
- Primer
- Chalk Line (if needed)
- Latex paint
- Paintbrushes
Manage all needed tool and go for finishing the cabinet.
Stage 1: Take all items off the bottom of your cabinets. Doing this will make it simpler to complete the finishing task.
Stage 2: Using a cleaner or degreaser, thoroughly clean the bottom of the cabinet. Afterward, use a cleaning rag to finish it off.
Stage 3: Once the surface is ready, you need to apply a quality primer to the area with a paintbrush. Coat the surface evenly with the primer to ensure a satisfactory result. Allow the primer to dry before proceeding.
Stage 4: Let the primer on your kitchen cabinet dry; take a paintbrush and dip it into the paint of your choice. Begin applying the paint to the cabinet’s underside, working in even strokes. You may choose to do two coats for an optimal result, allowing each coat to dry completely in between applications.
Stage 5: Wait until the topcoat is dry. You can put the cabinets back together, giving the underside of the kitchen cabinets a new finish.
Frequently Ask Question:
Should the underside of the kitchen cabinet be painted?
Answer: Yes, underside cabinets should be painted to match the room’s overall color scheme or to add a pop of color. It would help if you used paint suitable for the cabinets’ surface and adequately prepared it before painting for optimal results. Using paint with a semi-gloss or gloss finish is also recommended for easy cleaning.
What is the name of the trim located beneath the kitchen cabinets?
Answer: The trim beneath kitchen cabinets is commonly referred to as a “kick Plate” or “Kickboard.” It is a strip of material, usually metal or plastic, installed at the bottom of the cabinet to protect the base and walls from scuffs and scratches.
What is the term used to describe the bottom part of a cabinet?
Answer: The bottom part of a cabinet is called the base or the base cabinet.
Conclusion
Completing the underside of kitchen cabinets can be straightforward. You can easily make it a DIY home improvement project. Just follow our instructions to make the process simpler and quicker.
Paul Newman is a blogger who writes about plumbing and home improvement. Over the past 20 years, I have worked as a plumber. My passion is to share my knowledge and experience with others to improve their homes.