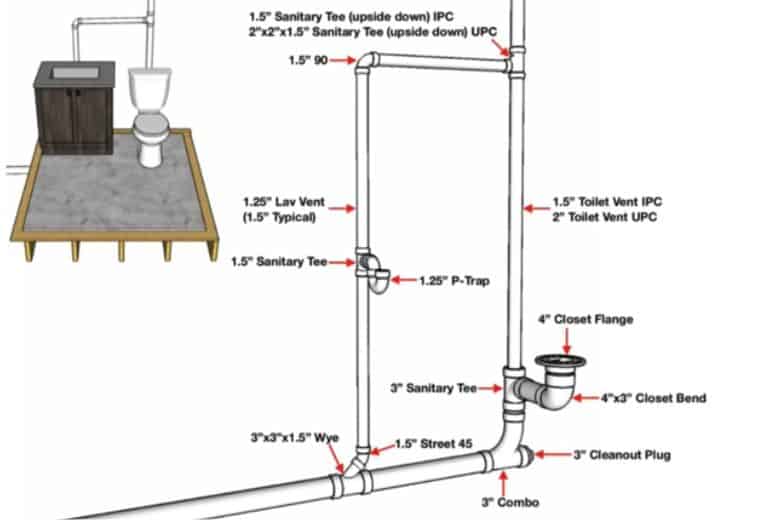
Generally, a under sink plumbing diagram refers to a visual representation or blueprint of the plumbing structure beneath any sink. It could be either in the kitchen, a bathroom, or a laundry area. It includes the entire system of pipes and fixtures that supply water to the faucet and drain water away. Depending on the sink’s location and configuration, it contains elements like the P-trap, drainpipes, water supply lines, shutoff valves, and possibly garbage disposal.
While the topic primarily seeks an image or diagram. Despite the fact a well-structured and informative article accompanying these diagrams could also be valuable to understand the whole concept. It will instruct common maintenance or repair tasks and offer other relevant information.
Let’s explore this mysterious world.
Unmasking the Basics: What’s in an Under Sink Plumbing Diagram?
The under-sink plumbing system plays a crucial role in your kitchen and bathroom. It ensures smooth water flow to your faucet, handles waste disposal, and prevents leaks and water damage. A well-maintained under-sink plumbing system is convenient and essential for maintaining a healthy and hygienic living environment.
The Key Characters in the Under Sink Drama
Let’s introduce the main players in the plumbing beneath your sink.
- Faucet and Taps: The faucet is the starting point, equipped with hot and cold-water handles and linked to corresponding supply lines. These are usually represented by a distinct symbol resembling the physical structure of a faucet.
- Water Supply Lines: Supply lines carry hot and cold water from your home’s main water supply to your sink’s faucet.
- Shut-Off Valves: These valves are your faucet’s lifeline, controlling water flow from the supply lines when you need to perform repairs or during emergencies. It is a small square, circle or another specific symbol, typically on the lines representing pipes.
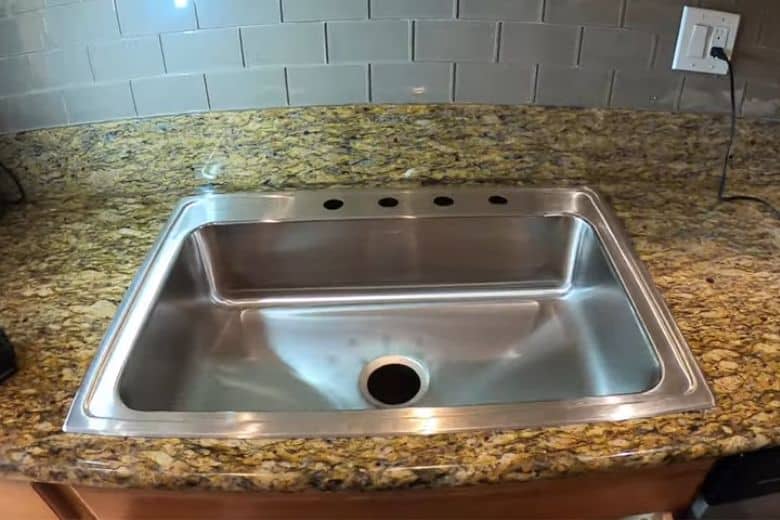
- Tailpiece: After the water is used, it exits through the sink drain and falls into a pipe known as the tailpiece.
- P-Trap: The P-Trap is a curved pipe that connects the tailpiece to the drainpipe. It plays a crucial role in trapping a small amount of water to prevent sewer gases from entering your home.
- Drainpipe: The drainpipe carries water from the P-Trap into your home’s sewer system. It is represented as lines with different styles (solid, dashed) or thicknesses indicating different types or sizes of pipes.
- Fittings: These can include elbows, tees, reducers, couplings, unions, and more. It represents small symbols or shapes at the points where pipes connect or change direction.
- Hot/Cold indicators: If the diagram distinguishes between the hot water pipe and the cold-water pipe, these might be represented by different colors, patterns, or labels. These could be indicated by ‘H’ and ‘C’, colors, or line styles.
- Vent: Vents might be depicted as lines going upwards, often with a special symbol at the end.
Note:
Not all diagrams use the same symbols, and not all diagrams will include a key. The key or legend is usually found on the side or bottom of the graph. If a diagram does not include a key, it might use standard symbols. They are generally recognized in the plumbing trade.
Reading an Under Sink Plumbing Diagram
Deciphering an under-sink plumbing diagram is a valuable skill. Learn the key symbols and techniques for reading these diagrams effectively.
1. Identify Component
It is a first step. You need to know what each symbol represents. Look for a key or legend that defines each character. Symbols can vary, but common ones include pipes, drains, vents, valves, traps, and fittings.
2. Trace the Flow
Start at one end of the system and follow the lines (pipes) to the other. This process helps you understand how water or waste moves through the system. Be sure to follow both the hot and cold-water lines if they are depicted.
3. Determine Pipe Sizes
If the diagram includes information on pipe sizes, this is represented by different thicknesses of lines. On the other hand, it might be written next to the line.
4. Examine the Connections
Look at how each piece is connected. Is it glued, screwed, or connected in another way? The method of connection can impact the overall system.
5. Understand the Function
Each component in the system has a function. Understanding what each part does will help you understand the system. For example, a trap prevents sewer gases from returning to the sink, and a vent helps water flow smoothly by allowing air into the pipes.
6. Analyze the Layout
Look at the overall layout of the system. Evaluate its efficiency and check for long pipe runs that could cause problems.
7. Identify Potential Issues
Look for anything that might cause issues, such as too small pipes, poor ventilation, or lack of access to valves.
8. Apply Building Codes
If you’re familiar with the plumbing codes in your area, compare the diagram to these to see if it meets all the requirements.
Note: However, it is a general guide. Each diagram will have its specific details and symbols. Always refer to the key or legend for that diagram.
Mistakes to Avoid When Interpreting Under Sink Plumbing Diagrams
Misreading a plumbing diagram can lead to confusion and costly mistakes. Avoid making assumptions about your setup based on a generic chart—refer to a diagram specific to your design. Be cautious about scaling and distances in diagrams; real-life plumbing configurations might not be as neatly organized or proportioned as in the illustrations.
How to Draw an Under Sink Plumbing Diagram
If you want to draw your diagram, you can try the method below. Eventually, sketching your own under sink plumbing diagram can be a valuable exercise. It allows you to understand your specific setup. It can be a helpful reference tool for future maintenance or repair work.
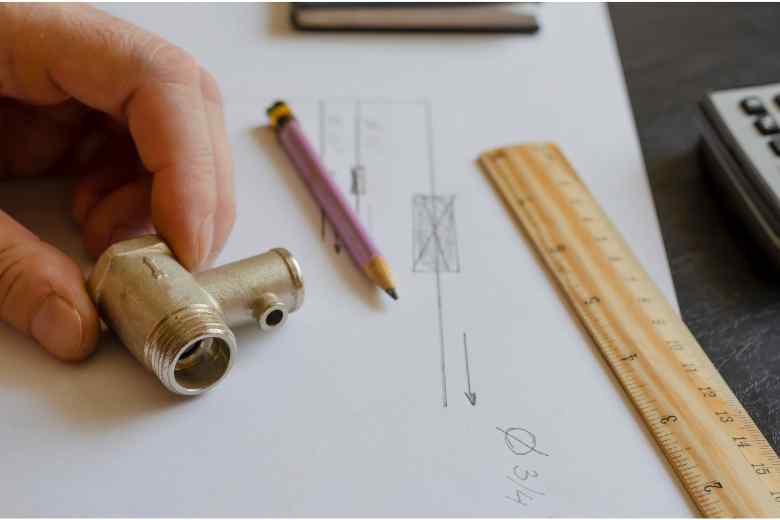
Tools Needed
A ruler, paper, and pencil are the basics. Besides, a tape measure can be helpful in gauging distances between components accurately.
Step-by-Step Process
1. Start by sketching the sink and locating the faucet.
2. Identify and draw the water supply lines and their shutoff valves.
3. Draw the drainpipe, including the tailpiece, the P-trap, and the wall pipe.
4. Label all the components accurately.
Installation of Under Sink Plumbing
In this section, we will guide you on how to install the under-sink plumbing. Have a look.
Required Tools
- Hacksaw
- Pipe Wrench
- Adjustable Wrench
- Screwdriver
- Plumbers’ Tape
Step-by-Step Guide
- Measure and Cut the Pipes: Measure the required length for the tailpiece and drainpipe, then cut them to the appropriate size using a hacksaw.
- Attach the Tailpiece: Connect one end of the tailpiece to the sink drain and the other to the P-trap.
- Install the P-trap: Position it under the tailpiece and connect it to the drainpipe.
- Connect the Supply Lines: Attach the supply lines to the faucet’s hot and cold handles, ensuring a secure connection.
- Turn on the Water: Once the installation is complete, turn on the shut-off valves and test for leaks.
Frequently Asked Questions
Can I create my own under sink plumbing diagram?
Answer: Yes, you can create your diagram. It’s a valuable exercise that helps familiarize you with your plumbing setup.
What are the most common problems in under sink plumbing?
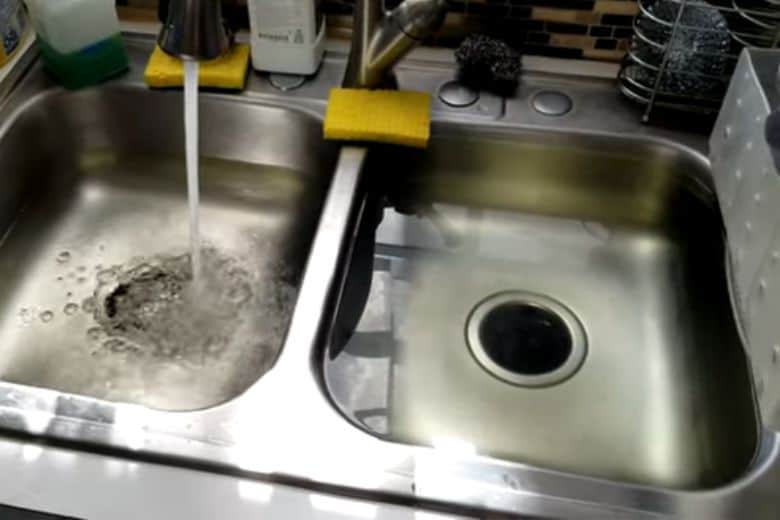
Answer: Common issues include leaks, clogs, slow drains, and low water pressure.
Can under sink plumbing diagrams differ from sink to sink?
Answer: Yes, plumbing configurations can vary based on the type of sink, the layout of the kitchen or bathroom, and the home’s overall plumbing system.
Are under sink plumbing diagrams universal?
Answer: While there are standard symbols and conventions, diagrams can vary based on regional codes, individual plumber preferences, and the specifics of a home’s plumbing system.
Conclusion
Knowing the under-sink plumbing diagram is crucial for both DIY fans and professionals. The blueprint helps maintain a functional system and can save time and money and avoid potential mishaps. Always refer to it when in doubt, and don’t hesitate to consult a professional. This guide is your steppingstone to fluency in reading under-sink plumbing diagrams. Happy plumbing!
Paul Newman is a blogger who writes about plumbing and home improvement. Over the past 20 years, I have worked as a plumber. My passion is to share my knowledge and experience with others to improve their homes.