
You will face great trouble when you find your faucet handle is not working correctly. It happens mainly because of the misalignment of the handle stops or you haven’t installed the faucet handle properly. As a result, the handle may spin, turn too far or less than required, or move in the wrong direction. This headache can make the day irresistible to bear and cause frustration.
So, what to do?
In that case, it becomes essential to know how to adjust faucet handle stops.
However, before adjusting the faucet handle stops, it is fundamental to turn off the water supply. Next, you should remove the handle and set the screw properly to locate the cartridge. Once you have identified the cartridge, you should replace it and reattach all the parts correctly. Moreover, in some cases, replacing the set screw may be sufficient if the cartridge is still functional.
Eventually, we are here to guide you; we are excited to share our knowledge in this article on how to adjust faucet handles and fix any faucet leaks you may encounter. In fact, you will also learn how to change both single-handle and double-handle faucet stops.
So, let’s jump into the main topic.
1. How to Adjust Faucet Handle Stops – The First or Primary Process
Here is the tools list:
- Adjustable wrench
- Screwdriver
- New set screw
- New O-ring
- Replacement cartridge (if necessary)
The Process to Follow:
First, if you notice that the faucet handle is loose or wobbly, it could be due to a loosened set screw. Generally, the set screw is responsible for securing the handle to the stem. To tighten the set screw, you will need a screwdriver. If tightening the set screw does not solve the issue, you might need to consider replacing the set screw.
First, remove the cap on top of the handle to replace a stripped set screw. Underneath the cap, you will find a small Allen screw that needs to be removed using a wrench. Next, pull the handle off the stem and replace the old set screw with a new one.
When replacing the set screw, ensure it is the same size and thread as the old one. Screw the new set screw in place until it is snug against the stem, then replace the handle and screw on the cap.
Check if the faucet cartridge is okay, then adjust the handle stops. But if it is broken, it should be replaced with a new one. Once the cartridge is replaced, you can use the faucet with proper handle stops. If the handle is too tight after adjusting the set screw, you may need to replace the O-ring.
2. How to Adjust Faucet Handle Stops – Process For Single Handle/Lever Faucet
Here is the tools list:
- Adjustable wrench or groove joint pliers
- Allen wrench or screwdriver, depending on the faucet model
- Allen key
- Needle-nose pliers
- Faucet grease or silicone-based lubricant (if necessary)
- Replacement O-rings and cartridge (if required)
The Process to Follow:
Do you have a single-handle faucet at home? Occasionally it’s not operating correctly or leaking; you can troubleshoot these issues with the following steps:
Begin by turning off the water supply before adjusting the faucet handle stops. It’s best to turn off the main water supply to the house. Once that is done, you can remove the handle from the faucet.
Next, identify the set screw’s location on the faucet handle; you will usually find it beneath a small cap on the back of the handle. It mainly controls the water flow to the faucet. Use an Allen wrench to remove the small Allen screw on the cap to remove it.
After adjusting the stop, make sure not to lose the small spring inside the cap. Use a flathead screwdriver or Allen key to loosen the set screw. When you are done, replace the cap and handle. If you find the faucet cartridge is damaged, replace it.
Once you’ve replaced the handle, turn on the water supply and check if everything is working correctly.
Note: To increase the water pressure, turn the set screw clockwise. To decrease the water pressure, turn it in a counter-clockwise direction.
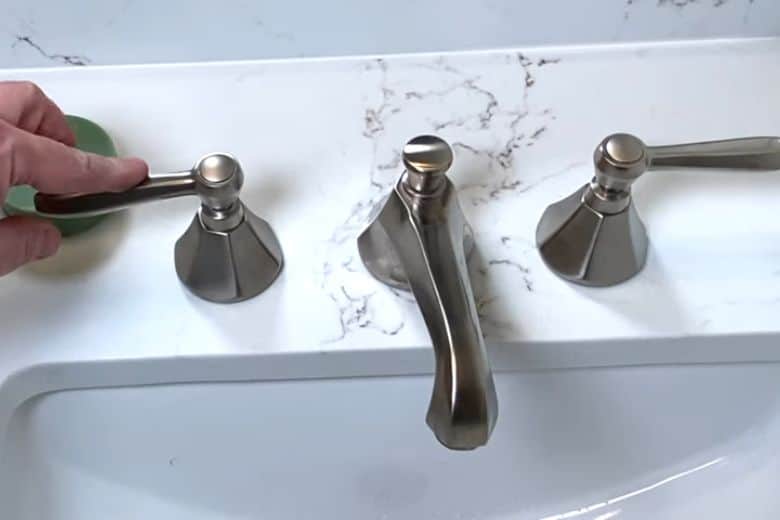
3. How to Adjust Faucet Handle Stops – Process for Double or Two Handle/Lever
Here is the tools list:
- Adjustable wrench
- Allen wrench
- Allen key
- Needle-nose pliers
- Faucet grease or silicone-based lubricant (if necessary)
- Replacement O-rings and cartridge (if required)
The Process to Follow:
To fix the leaks of a double-handle faucet, you can easily adjust the handles using the necessary tools. You can follow our below-mentioned steps to change the double-handle faucet stops that anyone can do.
Let’s start by turning off the water flowing to the faucet. You can do it by using the valves located underneath the sink. Alternatively, you can also turn off the main water supply to your home.
Next, using an Allen wrench, remove the set screws beneath the small cap at the back of each handle. It will allow you to unscrew the handles from the faucet.
Finally, utilizing a screwdriver or an Allen key, carefully unscrew the set screws and replace them with new ones. If you’re lucky enough to receive caps, you should replace them, too, as they can be the root of the problem.
Once you’ve identified any broken cartridges, you should replace those as well. After all of this is complete, turn the water supply back on and test the faucet to ensure that the process has been successful.
Note: To adjust the stems, you can turn them clockwise to secure them or counter-clockwise to loosen them. When you have finished, screw the handles back in their places.
Here are some precautions to take while adjusting faucet handle stops:
- Turn off the water supply to the faucet before making any adjustments.
- Use appropriate tools such as pliers, wrenches, or screwdrivers to make the necessary adjustments.
- Follow the manufacturer’s instructions carefully to avoid damaging the faucet.
- Do not force any parts or components while making adjustments, as this may cause damage.
- Try to keep track of the parts you remove during the adjustment process and ensure they are correctly reassembled.
- Test the faucet after making adjustments to ensure that it is working properly.
- If you are unfamiliar with plumbing work, it’s best to seek the assistance of a professional plumber.
Frequently Asked Questions:
What is the process for adjusting the rotation on a faucet?
Answer: To adjust the rotation on a faucet, you should switch the hot and cold valves and stems by fixing the rotation. For two-handle faucets, you should rotate the right stem stop to 180°.
Can I adjust the faucet handle stops?
Answer: You can adjust the faucet handle by turning it in the opposite direction to its default rotation.
What causes a faucet handle to turn too far?
Answer: It is typically happened due to a worn-out faucet cartridge or interlocking knurls.
What is the process for adjusting Delta faucet handles?
Answer: To adjust a Delta two-handle lavatory faucet with handles rotating in the wrong direction, rotate the right stem stop assembly 180 degrees. This will cause the faucet handle to rotate in the opposite direction.
For knob handles, ensure the stem stops (1) face the center to enable a counterclockwise rotation.
What is the function of a faucet lever, and how does it work?
Answer: The faucet lever controls the flow and temperature of water by moving a diamond-embedded disc within the cartridge housing. As the lever is moved from side to side, varying amounts of hot and cold water are mixed inside the ceramic disc before flowing out of the faucet.
Conclusion
How to adjust faucet handle stops? In this post, we have outlined practical ways to change faucet handle stops that are simple to follow. You’ll mainly need a screwdriver and a wrench to get started. Once you have these tools, fixing the set screw and cartridge should be sufficient to solve most problems.
Paul Newman is a blogger who writes about plumbing and home improvement. Over the past 20 years, I have worked as a plumber. My passion is to share my knowledge and experience with others to improve their homes.


