If you are a user of a pull-down kitchen faucet, then at some point, you surely face low water flow. It is generally occurred due to calcium, hard water or mineral deposit in the spray head or the hose adaptor.
As a result, the spray head stops working normally and falls water oddly instead of straight down.
In this circumstance, you might feel to change the faucet. Fortunately, the good news is you don’t need to change the whole system.
Rather you can solve this problem by unclogging the blockage inside the aerator or spray head. And in this article, you will learn how to clean a pull-down kitchen faucet spray head.
However, a few points have to detect for the sprinkle problem or low water flow and fix it. Those are:
- Check the aerator to understand the blockage issue
- Make sure the shower spray head blockage is the main problem
- How to remove the pull-down spray head for cleaning
- What thing do you need to complete the whole process?
- How many ways remain to solve the problem?
We have answered all these questions go down to explore.
How to Clean a Pull-Down Kitchen Faucet Spray Head- 4 Ways
Generally, cleaning pull-down kitchen faucet heads is easy, and you can do this by using a few techniques. But before starting the process, you have to arrange a few accessories. Let’s have a look at the accessories or material list.
- Old or new soft toothbrush
- Adjustable wrench or pliers
- White Vinegar
- Rubber band
- Tape
- Plastic bag or a blow
- Soft cloth
- Clamp or clothespin
- Soft dishwasher
- Soft cloth or sponge
- Baking soda
1. Aerator Cleaning Process
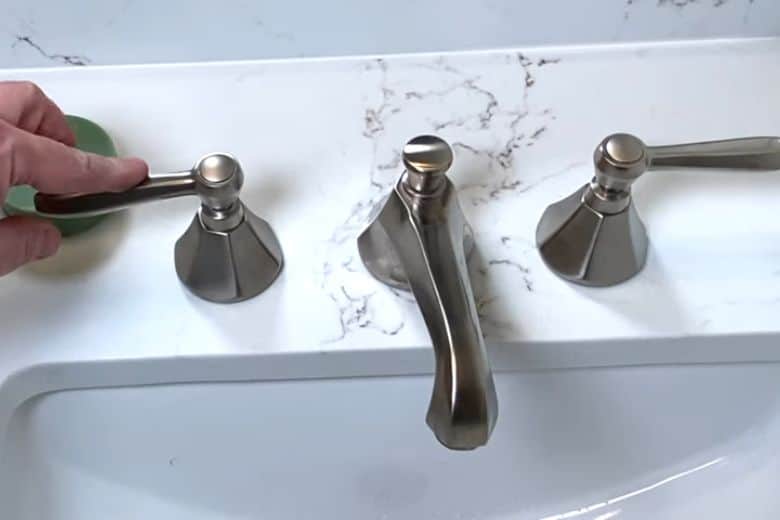
The aerator is typically located at the front part of the spray head. It fits in both removal and intact feature. The first thing you have to do for cleaning the aerator is to find out whether your pulls down faucet is designed in one piece or two pieces layout.
If it is a one-piece design, you can’t remove the aerator, and you have to clean it intact.
On the other hand, if the spray head is designed in a two-piece layout, you can remove the aerator for cleaning.
Firstly, pull out the hose and spray head from the faucet.
Secondly, block the hose with the tape to prevent the water from falling out.
Thirdly, use pliers, adjustable wrench, or only head to remove the aerator depending on the spray head design.
Lastly, remove all the small parts using a clamp or clothespin and keep them aside
After successfully removing the aerator, your cleaning process starts. Take a toothbrush and carefully remove all minerals, magnesium, or sediment from the aerator.
Rinse it underwater and clean it until all the objects disappear.
You can also put it into a blow of white vinegar for an hour to get better results.
After you have done the cleaning process, fit the aerator to the spray head in the same way you have removed it from the faucet head.
For a better understand, you can also check the video.
2. Spray Head Cleaning Process
Cleaning only the aerator does not fix the low water flow rate. You have to clean the spray head too. Moreover, when you cannot remove the aerator, then cleaning only the faucet head can minimize the low water flow in a great manner.
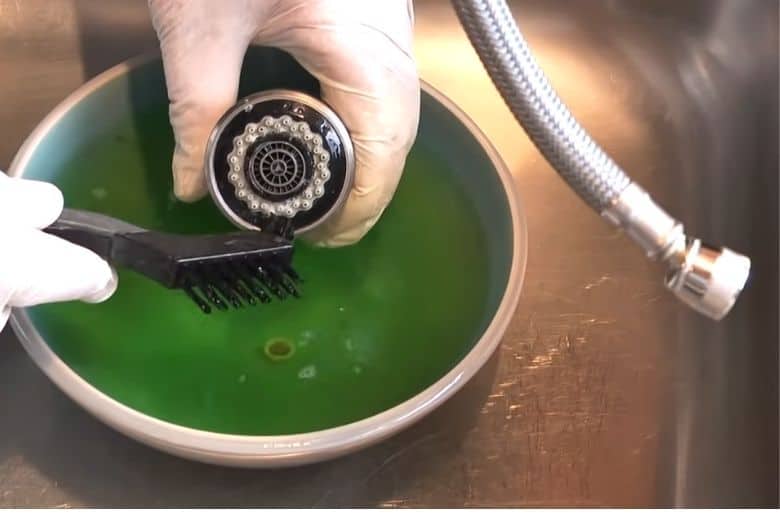
However, first, take dishwashing soap and brush to clean the spray head.
In next, take a bowl of white vinegar and dip the spray head on it for overnight or at least 3 to 4 hours.
Now put out the spray head from the bowl of vinegar and clean it with a brush. Continue the cleaning process until all the holes are open.
Finally, keep the spray head under tap water to clean remain vinegar. Check all holes are clean and, if needed, repeat the process one more time.
Your kitchen faucet spray head is ready to produce high water flow. Now it is time to fit it in the pull-down hose again.
3. One-Piece or Fixed Spray Head Cleaning Process
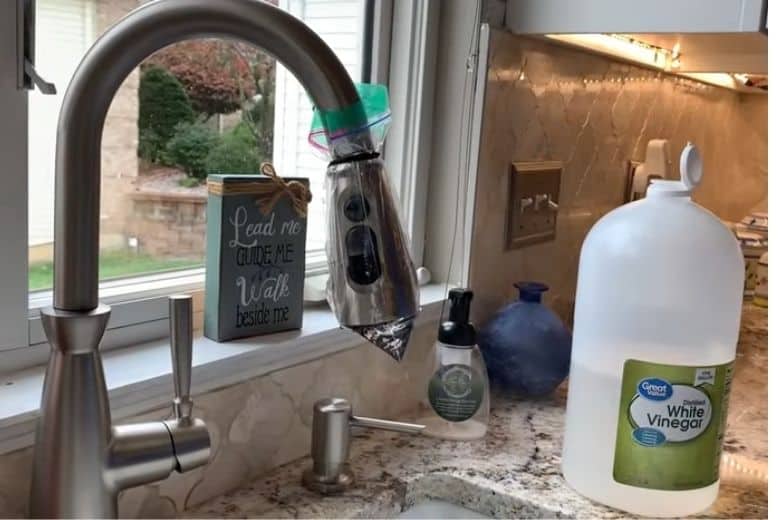
If you have one piece or fixed spray head, you can follow this simple cleaning process. Here you only need vinegar, brush, plastic bag or bowl and rubber.
Fill the bowl with vinegar, pull down the spray head as much as possible, and soak it into the bowl for 1 hour or two. Then brush it and rinse it off with water.
Similarly, you can also soak the spray head in vinegar without pulling it out. Use the plastic bag and rubber band to hold it in place for the soaking process.
Finally, open it after an hour, scrub it with a brush, and clean it with fresh water.
4. Use Baking Soda and Dishwasher to Remove Stain and Bad Smell
Along with vinegar, you can also use baking soda and dishwasher mixture to clean the spray head and aerator. This, approach not only help in low water flow rather also remove stain and bad smell.
Like the process mentioned above, you have to remove the aerator and spray head in this method.
Next, take a bowl, add water and 2 to 3 tablespoon dishwasher and make a foamy mixer.
Now add two to three tablespoons of baking soda and mix it properly. Put the spray head in it for one to two hours and then clean it with a brush.
And soak the aerator on it for 10 to 20 minutes and clean it with a brush.
After scrubbing with a brush:
- Rinse both aerators and spray head with clean water.
- Dry them.
- Fix them in the hose.
Frequently asked question
Why does the pull-down spray head need cleaning?
Answer: A pull-down spray head needs cleaning at least once a month to prevent blockage. If you avoid cleaning it, you will surely face low water flow. So, it is wise to clean it regularly.
Why does the spray head become clogged or blockage?
Answer: Generally, your faucet head becomes clogged or produce low water with hard water, mineral, magnesium and other object deposits. It occurs when you live in a hard water supply area and avoid using a water softener.
Can I clean the aerator and spray the head without vinegar?
Answer: Vinegar is recommended because it can clean the whole system properly. Despite that, if you want to avoid vinegar, you can use a brush and dishwasher to clean the aerator and spray head. But using only a brush and dishwasher is not enough to clean the system perfectly.
How do I take apart the pull-down faucet spray head?
Answer: You can easily take apart the pull-down faucet spray head by unscrewing the nozzle from the hose.
Do all faucet aerators allow removing?
Answer: No, you can’t remove all pull-down spray head aerators. If the spray head is designed in a two-piece layout, you can remove the aerator; otherwise, not.
Conclusion
In the end, we hope now you have perfectly learned how to clean a pull-down kitchen faucet spray head. We have included the four easiest but effective methods for you. Your low water problem will undoubtedly diminish if you accurately follow our guidelines.
Paul Newman is a blogger who writes about plumbing and home improvement. Over the past 20 years, I have worked as a plumber. My passion is to share my knowledge and experience with others to improve their homes.