Do you want to elevate the look of your kitchen interior perfectly? Then, a kitchen sink with a single bowl will be a perfect choice. It jazzes up the kitchen interior that you can’t help loving. Also, you can combine the stylish countertop and faucet for a complete overhaul of the kitchen.
Thankfully, the DIY project is not so costly. But for this, you need to know how to plumb a kitchen sink with a single bowl. Plus, you must understand the single bowl kitchen sink plumbing diagram. For DIYers, the plumbing diagram may appear slightly complex.
Firstly, you need to look at the entire diagram closely. After that, you need to measure and cut the layout for the new kitchen sink. Then, you may position the kitchen sink faucet by cutting the layout. Finally, connect the filter and install the sink to attach to the water lines.
How to Plumb a Kitchen Sink with Single Bowl:
Most homeowners consider installing a new kitchen sink during home renovation tough. But, you can finish off the project once you understand the sink plumbing diagram. In the next few sections, we will show you the steps to install a new kitchen sink in place of the older one.
Step 1: Look And Understand The Sink Plumbing Diagram
You should inspect the entire kitchen sink setup first. Once you observe the plumbing system, it helps you know the diagram properly. Also, you may have the diagram already drawn in the 3D modeling of your home.
As you go through the plumbing diagram, you will know exactly where the water lines, faucets, and connections are. It will ease the installation greatly.
Step 2: Measure, Mark And Cut The Kitchen Layout
Now, you will need to measure and cut the layout for the kitchen sink. Many sinks come with a template to help you measure and draw the outline quicker and easier. As you prepare the outline, ensure that the sink stays at the center. Also, it should be within the cabinet’s range.
To outline the sink, you may use masking tape or a pencil. We recommend you sing the masking tape. It prevents the other parts of the countertop cabinet from being damaged. Look at the back lip of the kitchen sink and mark the center carefully there.
You can align the sink on the cabinet by placing it upside down. As you align the sink, leave 1/1-2 inches between its backsplash and back edge. Also, while measuring the kitchen sink lip, leave out 1/8 inches. You need to mark the sink inwardly for this 1/8 inches length.
Once you have marked the outline, you need to mark the cutting lines of the sink. It would help if you used a straightedge to prepare the cutting outline properly. Once you have marked the outline, use a jigsaw to cut through it.
Carefully align the kitchen sink outline and jigsaw blade for the perfect cutout. Also, you can install wood scrap alongside the cutout to prevent the blade from damaging the edges.
Step 3: Start Installing The Sink Faucet
Once you have cut the marked outline of the kitchen sink, you should focus on the faucet. For this, position the sink upside down. Ensure that the place is flat and smooth. You can use the counter or padded sawhorse for the sink placement.
Find the tailpiece and supply tubing of the sink. Then, pass it through the kitchen sink gasket. The gasket will seal the sink and faucet’s connecting point. After that, pass the supply tubing and tailpiece through the sink holes.
Now, again look at the kitchen sink deck. There you would find the holes for the nuts. Carefully install and tighten the screw nuts. Also, tighten the washers for a watertight connection. Nonetheless, before tightening the screwing nuts, ensure that the sink moves through its full arc. Or else, you need to untighten the nuts slightly.
Step 4: Connecting The Strainer
For the next step of kitchen sink plumbing, you must attach the filter. Also, it should stay over the plumber’s putty you use on the kitchen sink.
Locate the strainer’s lip at first. Apply ample plumbers putty under it. Then, push the strainer’s lip through the sink’s drain hole. Pass the washer, gasket, and strainer housing through the filter.
On the exposed threads, apply the pipe-joint materials to secure them. After that, thread and connect the locknut with the strainer. Carefully hold the strainer in its place as you tighten the nut. You can use the pliers to tighten the locknut.
Finally, you should attach the tailpiece with the gasket and the strainer. Also, don’t forget to fasten the nuts.
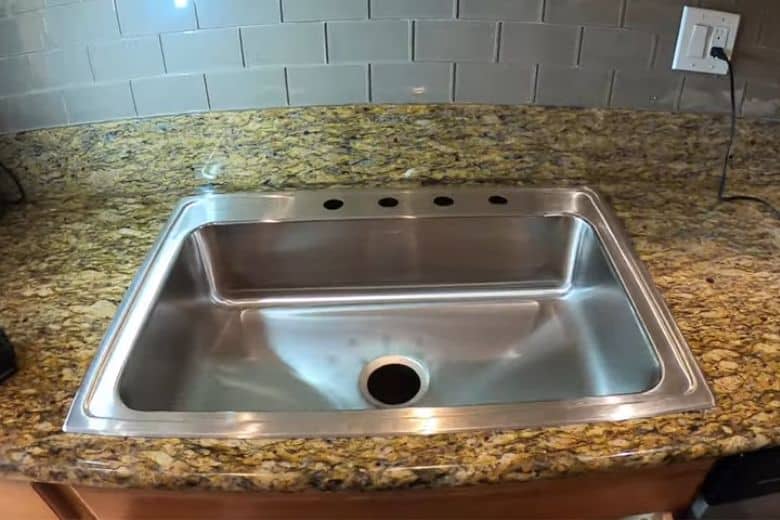
Step 5: Mount The Sink And Attach The Water Lines
You have connected the tailpiece, gasket, and faucet line underneath the sink by this time. So, now, you need to install the kitchen sink on the cabinet. For this, start by removing the masking tape from the sink cabinet.
Along the sink’s lip, squeeze a few silicone caulk beads. It prevents the sink’s lip from being damaged during the installation process. Now, turn it and position it on the countertop. Ensure that you align it with the countertop hole correctly. Also, the sink’s front should be parallel with the countertop’s front edge. If you find an inaccuracy in the sink positioning, adjust it.
Now, you will need either braided water hose. You need to connect the shut-off valves and faucet using the hose. Alternatively, you may use head-supply tubes from Acron.
Finally, find the threaded tailpiece of the kitchen sink. You will have to attach the sprayer hose with it. Also, tighten the connecting point with an adjustable wrench.
Step 6: Mount And Attach The Drainpipes
For the next step of how to install kitchen sink plumbing, you will have to connect the sink with the drainpipes. Carefully mount the adapter with the tailpiece. For connecting the adapter and the trap, cut the PVC pipes accordingly.
Also, insert the waterline with the drain elbow of the tailpiece. You should align the drainpipe, tailpiece, and elbow pipe perfectly to make them watertight. Cut off any excess parts with the utility knife. Apply PVC primer on it and let the primer dry properly.
Apply PVC cement on both segments to connect them accurately. To tighten the connection, you need to hold the two pieces together for 30 seconds.
Step 7: Mount the Dishwasher Draining Line
Find the waste nib of the sink’s tailpiece. Attach your dishwasher drain line with it and fasten the hose clamp. Look at the strainer’s lip to find and remove additional putty. You can now check if the system is working properly or not.
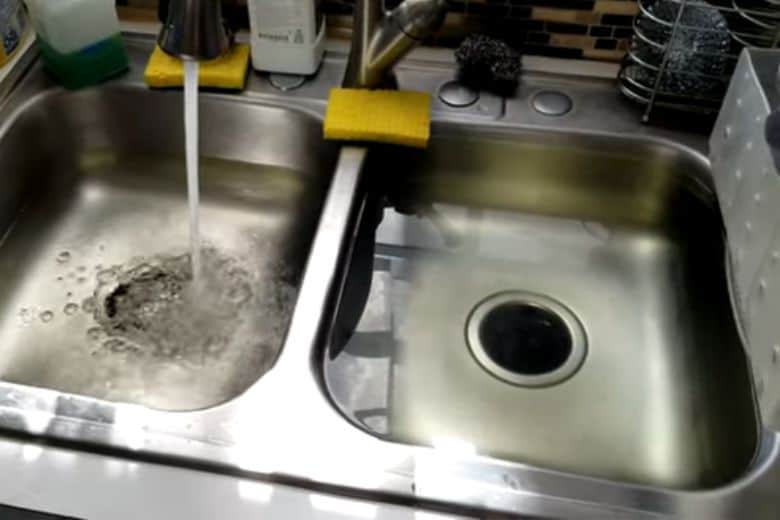
Run the kitchen sink faucet at its full speed to taste the waterline. Also, remove the aerator to help the water flow at full speed.
Frequently Asked Questions:
Where is the vent pipe for kitchen sink?
Answer: The vent pipe hides right close to the drain and wall connection. It reaches 6-inches above the water overflow level of the kitchen sink.
Can a single-bowl sink have a garbage disposal?
Answer: Yes, you can mount garbage disposal with the single-bowl kitchen sink. In fact, it is easier to install the garbage disposal with a single bowl sink than the conventional dual ones.
Does a single drain kitchen sink need to be vented?
Answer: Yes, a single drain sink also needs proper venting. It is a must for all the kitchen sinks to have proper venting to meet the building codes.
Conclusion
Many people get confused about seeing the single bowl sink for installation. They get overwhelmed with it. Thankfully, you can follow the guidelines and steps of this article. The guidelines on how to plumb a kitchen sink with a single bowl are easily understandable. Yet, you can reach us to clear any doubt about the perfect installation of the kitchen sink.
Paul Newman is a blogger who writes about plumbing and home improvement. Over the past 20 years, I have worked as a plumber. My passion is to share my knowledge and experience with others to improve their homes.