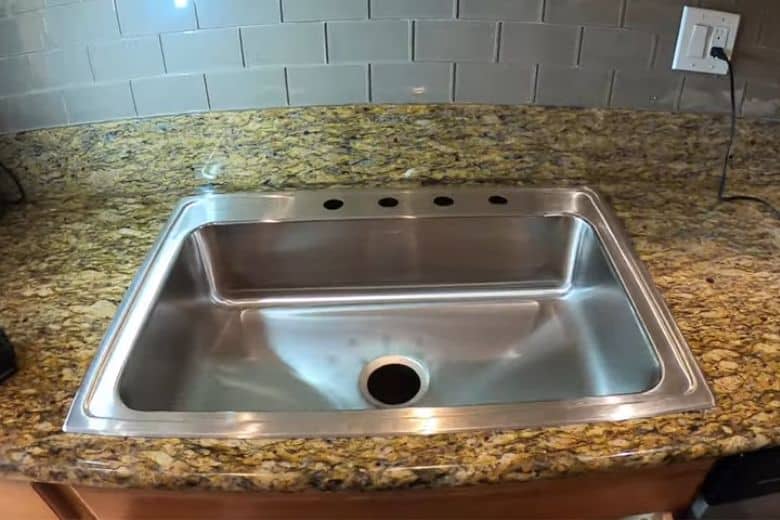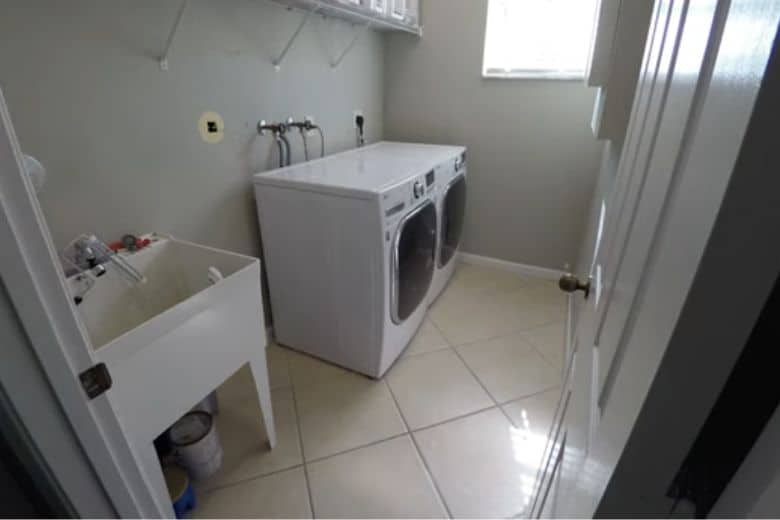
Combining a laundry sink and washing machine in one location has numerous advantages. It can improve the aesthetic appeal and organization of the laundry area. However, connecting them to the same drain may seem time-consuming. In reality, no specialized knowledge or plumber’s assistance is needed for this job.
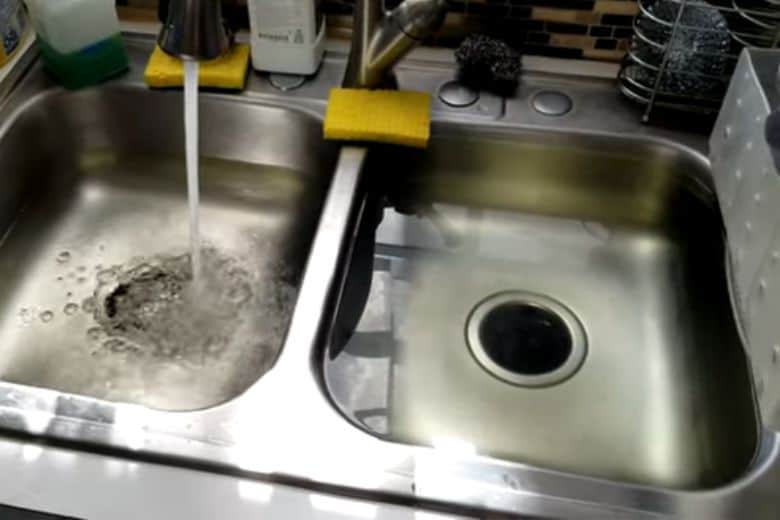
If you’re wondering how to connect a laundry sink and washing machine to the same drain? Here’s how: Hang the washer’s drain hose over the laundry sink’s edge so water can flow directly into it. Alternatively, if the drainpipe is a 2″ line, you can connect both appliances in the same channel. To avoid water backup, installing a separate p-trap and a standpipe is important.
Connecting the laundry sink and washing machine is a straightforward process you can easily do by following simple steps. Fortunately, we are here to share the methods for connecting them in this article. All you need is a bit of courage and patience, and you will be able to get the job done in no time.
Instruction for Connecting the Laundry Sink and Washing Machine to the Same Drain
It should take a maximum of 4-6 hours to complete the entire connection job. So it will be wise to take an off day to relax and enjoy the process. Before beginning the DIY connection task, make sure you have the following tools:
| Tools Needed (Non-mandatory) | Tools Needed (Mandatory) |
| Safety glasses Rubber gloves Plastic tray for tools | A permanent marker Tape measure / Measuring stick PVC Y-fitting (waste) A saw (PVC handsaw/ reciprocating) Utility knife Solvent glue 90° elbow 2” standpipe with trap 0.5” screws Pipe strap |
After obtaining all of the necessary tools, you can begin to follow the main steps:
Step 1:
Put on safety glasses and rubber hand gloves to secure yourself. Because there is a risk of germs and other things can be a risk of germs when connecting the laundry sink and washing machine to an old line. Additionally, it’s advisable to prioritize health safety and work efficiency. Keeping all other tools on a plastic tray can make the job easier by helping you stay organized throughout the task.
Step 2:
Before starting the plumbing job, turn off the main water supply. Next, use a tape measure to determine the height of the drain pipe connection from the ground to the laundry sink. Additionally, measure the length of the waste Y-fitting, and subtract 1 inch from this measurement.
Step 3:
Locate the existing washer drain line, which may run down to the floor or into the wall. Next, use the measurement of the laundry sink to mark the washer drain line from the ground, ensuring that the height is maintained. The Y-fitting can be installed at the marked location. To mark the measurement, you can use a permanent marker.
Step 4:
Next, it’s time to cut a section of the existing drain pipe using a hand saw. This section should extend from the marked location to anywhere near the venting pipe that connects above it. Alternatively, you can think of cutting the horizontal T-fitting where the washer water enters the exit drain pipe.
Step 5:
To ensure a secure connection between pipes, you can use a piece of sandpaper or a utility knife to smooth out any burrs from the cut area. It will help to remove any rough edges that may be present. Next, the Y-fitting can be installed onto the existing drain pipe. Typically, this fitting has up to three arms. Use solvent glue to wipe the inside edges of the Y-fitting.
Step 6:
It would help if you tried to connect the Y-fitting in a unique way. To do this, dry-fit the 90° elbow to the opening of the Y-fitting. Then, take a standpipe with a trap and dry-fit it to the 90° elbow. From the front, you will see approximately ¾ of a circle due to the installation of the elbow and trap. However, once the standpipe is securely fitted together, it will remain on a vertical axis.
Step 7:
Using the measuring tape, measure the distance between the floor and the top edge of the standpipe. Then, mark the standpipe with a marker at 34 inches. Next, remove the standpipe and cut along the marked line. It will create a standpipe with the appropriate height for washing machine drainage. Maintaining the standpipe height of at least 34 inches is important to prevent water from backing up.
Step 8:
After cutting the standpipe to the appropriate height, remove the dry-fit sections from the Y-fitting. Then, apply solvent glue to the areas and attach them together. Fasten the standpipe to the wall using a pipe strap, which should be positioned around 2 inches from the top edge. Finally, screw the pipe in place using 0.5-inch wood screws, and your project is complete.
Benefits of Connecting a Laundry Sink and Washing Machine to the Same Drain
If you have the space to install a laundry sink next to your washer, there are many benefits to having them together and connected to the same drain. Here are a few of them:
Convenient Hand-Washing: It’s easy to hand wash clothes alongside using the washing machine when you have a laundry sink nearby. It is especially helpful when washing delicate garments like underwear; you don’t need to go to a separate washroom.
Save Usage of Water and Detergent: Connecting your laundry sink and washing machine to the same drain can save water and detergent. By pre-rinsing dirty items in the sink before adding them to the washer, you can reduce the amount of water and detergent needed for a load of laundry.
Sorting Clothes Made Easy: Having a laundry sink and washer in the same room can make sorting clothes a breeze. Instead of sorting directly in the washing machine, you can use the sink to create versatile piles for different types of laundry. It can help organize your laundry and ensure the right items are washed together.
Cost-Saving Solution: Separate laundry sink and washer plumbing lines can be costly to install and maintain. However, connecting both to the same drain can help save you both time and money in the long run. With a single drain, you’ll have fewer maintenance concerns, and the installation cost can be significantly lower than that of separate lines.
Pro Tips
What if you can’t access a sewer drain to install the standpipe discussed in this article? Please don’t panic; we are giving you some bonus tips.
You can start by removing the concrete floor and tapping into the main sewer house drain to install the standpipe. In certain cases, you should also add a vent pipe or air admittance valve.
If you need more confidence in doing the job yourself, you can always seek help from professional plumbers. They can offer guidance on tackling the installation or doing the job for you with their expertise.
Frequently Asked Questions
Why won’t my sink drain when washing machine on?
Answer: If your sink won’t drain when the washing machine is on, it could be due to a clogged drain pipe. When the washing machine drains, it sends a large amount of water down the drain, which can cause a blockage if there is already buildup in the pipe. You can use a plunger or drain snake to clear the blockage, or call a plumber if the issue persists.
Do you need a sink next to a washing machine?
Answer: No, a sink is not required next to a washing machine. However, having a sink next to the washing machine can provide additional benefits such as easy hand-washing of clothes, water and detergent saving, helpful for sorting clothes, and saving money.
What controls the drain of washing machine?
Answer: The drain of a washing machine is controlled by a pump that is located inside the machine. When the machine completes a cycle, the pump activates to drain out the dirty water from the drum and send it through the drain hose.
Conclusion
How to connect a laundry sink and washing machine to the same drain? Ensure you have all the necessary tools nearby and give yourself enough time to complete the task. Don’t worry about the cost; the required tools are readily available.
Following the steps mentioned in this article, even a newbie or inexperienced person can easily complete the project. I’m sure you’re feeling great after reading the entire article, and I hope you’ll remember to share your successful DIY project with me.
Thank you for reading, and happy plumbing!
Paul Newman is a blogger who writes about plumbing and home improvement. Over the past 20 years, I have worked as a plumber. My passion is to share my knowledge and experience with others to improve their homes.