A loose kitchen faucet is a nuisance. It not only affects the functionality of the faucet but also leads to unnecessary water wastage. Therefore, a properly functioning faucet is essential. Because it plays a crucial role in providing water for cooking, cleaning, and other daily tasks.
Consequently, to ensure your faucet remains secure and functions optimally. It would help if you learned how to tighten kitchen faucet properly.
Eventually, we are here to help you. We have included a step-by-step process and valuable tips along the way.
Whether you’re a seasoned DIY enthusiast or a beginner. You can ensure a secure and leak-free connection with our comprehensive guide.
So, let’s dive in and get your faucet back in top shape!
Signs of a Loose Kitchen Faucet
Before tightening, you must identify whether your kitchen faucet is loose. Here are a few common signs to look out for:
- You notice wobbling or shaking faucet handles or spouts when in use.
- There is persistent dripping or leaking from the base of the faucet.
- They are squeaking or grinding noises when turning the faucet on or off.
- You face difficulty in maneuvering the faucet lever smoothly.
- You face difficulty controlling water flow or temperature.
Understanding the Basics
After examining the sign, next you must understand some basic concepts. By familiarizing yourself with the key components and terminology associated with faucets. You’ll be better equipped to tackle the task at hand.
1. Types of Faucets
There are several types of kitchen faucets available. Each type has its unique design and mechanism. It’s crucial to identify the type of faucet to determine the appropriate steps for tightening it.
- Single-Handle Faucets: These faucets have a single handle that controls the water’s flow rate and temperature. They are commonly found in modern kitchens and offer ease of use and sleek design.
- Double-Handle Faucets: These faucets have separate handles for hot and cold water. They require manual adjustment of both handles to achieve the desired water temperature. Double-handle faucets are often seen in traditional or vintage-style kitchens.
- Pull-Out or Pull-Down Faucets: These faucets feature a spray head that can be pulled out or pulled down from the spout. They offer convenience and flexibility, allowing you to extend the reach of the water flow for tasks like rinsing dishes or cleaning the sink.
2. Components of a Kitchen Faucet
A typical kitchen faucet consists of various components. Understanding these parts will help you navigate the tightening process more effectively.
- Spout: The spout is the part of the faucet from which the water flows into the sink. It can come in different shapes and sizes, such as a high arc or a low profile.
- Handles: Handles faucets have a single handle that controls the water’s flow rate and temperature. They are commonly found in modern kitchens and offer ease of use and sleek design.
- Aerators: Aerators are small attachments at the tip of the spout that mixes air with the water, reducing splashing and conserving water. They often have a screen to filter out debris and mineral deposits.
- Valve Cartridges: Valve cartridges are internal mechanisms that control the flow and temperature of the water. They can be found inside the handles or under the spout. Different types of cartridges exist, including compression cartridges, ceramic disc cartridges, and cartridge disks.
How to Tighten Kitchen Faucet (Step-by-Step Process)
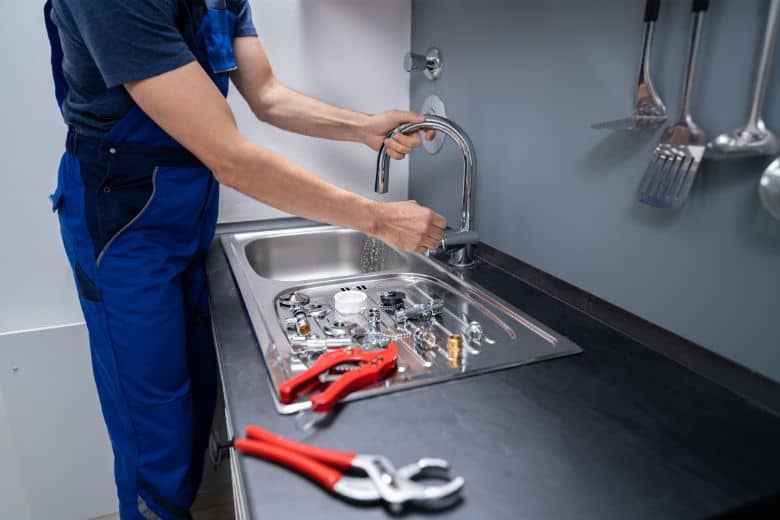
To tighten a kitchen faucet, you’ll need a few essential tools. Before starting the process, gather the following items:
- Adjustable wrench
- Phillips head screwdriver
- Basin wrench (optional, depending on the type of faucet)
- Plumber’s tape
- Clean cloth or rag
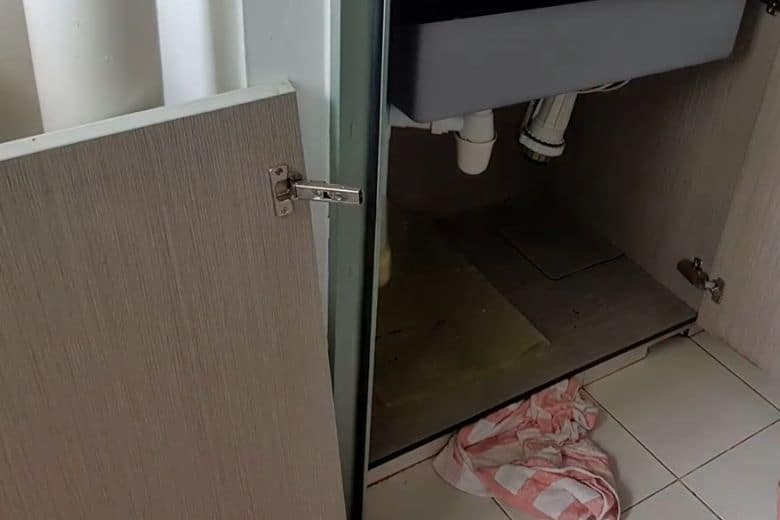
Step 1: Shut off the Water Supply
Locate the water valves under the sink and turn them clockwise to shut off the water supply to the faucet. It will prevent any accidental water flow during the tightening process.
Step 2: Inspect the Faucet Base
Examine the base of your faucet to identify the type of fastening mechanism it uses. Some faucets have visible screws or nuts, while others require removing a decorative cap to access the fasteners.
Step 3: Inspect the Faucet Handles
Examine the faucet handles to identify any loose or wobbly parts. Gently wiggle the handles to determine the source of the problem. Worn-out or loose screws often cause loose handles.
Step 4: Tighten the Faucet Base
Use an adjustable wrench or basin wrench to tighten the nuts or screws holding the faucet base to the sink. Turn them clockwise until the bottom is firm and stable.
Step 5: Tighten the Faucet Handle or Lever
If your faucet handle or lever is loose, use an adjustable wrench or screwdriver to tighten the screws or nuts securing it. Turn them clockwise until the handle is securely in place.
Step 6: Check for Stability
After tightening the mounting nuts or screws. Now check the stability of your kitchen faucet. Give it a gentle shake to see if there is any wobbling or movement. Once more, firmly hold the base of the spout and attempt to move it from side to side or up and down. If you notice any looseness or excessive movement, proceed to the next step. The spout may require tightening.
Step 7: Secure the Faucet with a Basin Wrench
If your faucet continues to be unstable, you may need to secure it further using a basin wrench. This specialized tool allows you to reach tight spaces under the sink. It tightens the nuts or bolts that secure the faucet from below. Insert the basin wrench into the tight space. Therefore, position it onto the nut or bolt, and turn it clockwise to tighten. Be cautious not to overtighten and risk damaging the fixture.
Step 8: Check for Leaks
After tightening the faucet handle and base, turn on the water supply and check for leaks. If you notice any leaks, tighten the fasteners further or apply the plumber’s tape to create a watertight seal.
Step 9: Reassemble
Once you have tightened the faucet to your satisfaction. It’s time to reassemble any decorative caps or covers you removed earlier. Double-check that all the components are securely in place.
Step 10: Test the Faucet
Once you have completed the tightening process. Now, turn on the water supply by rotating the shutoff valves counterclockwise. Test your kitchen faucet by running hot and cold water to ensure no leaks and that the fixture remains stable.
Congratulations, you have successfully tightened your kitchen faucet!
Safety Precautions to Follow
- Turning off the water. Because it prevents any accidental water flow or leaks while working on the faucet
- Handle hot water precautions. Allow the water to cool down before tightening to avoid burns or scalding.
- Protect delicate surfaces. Place a towel or a soft cloth underneath the faucet and use caution when applying pressure to avoid causing any scratches or damage.
Extra Tips for a Sturdy Kitchen Faucet
Here are a few additional tips to help you maintain a sturdy kitchen faucet:
- Regularly inspect the faucet for any signs of wear or looseness. Catching the issue early can prevent it from worsening and save you from major repairs.
- Clean your faucet regularly using a mild soap solution and a soft cloth. Avoid abrasive cleaners that can damage the finish.
- Consider using the plumber’s tape when reassembling the faucet. It can provide an extra layer of protection against leaks and ensure a tighter seal.
Frequently Asked Questions
Can I tighten a kitchen faucet without any tools?
Answer: While having the appropriate tools can make the task easier, you can tighten certain types of kitchen faucets using your hands. However, having an adjustable wrench and a screwdriver will ensure a more secure tightening.
Can I use the plumber’s tape to prevent leaks around the faucet base?
Answer: Yes, applying a plumber’s tape to the threads of the faucet base can create a watertight seal, reducing the chances of leaks.
Is over tighten damaged kitchen faucet?
Answer: Over-tightening a kitchen faucet can damage the fasteners or other components. Use moderate force when tightening and ensure the faucet feels stable without excessive tightening.
Conclusion
A stable and secure kitchen faucet is vital for a functional and efficient kitchen. Now you know how to tighten kitchen faucet. By following our step-by-step instructions. You can successfully tighten your kitchen faucet and enjoy a steady water flow without wobbling or leaks.
Remember, a little maintenance goes a long way. Besides preventing costly repairs and preserving the functionality of your kitchen sink.
Paul Newman is a blogger who writes about plumbing and home improvement. Over the past 20 years, I have worked as a plumber. My passion is to share my knowledge and experience with others to improve their homes.