Painting a kitchen sink may seem unusual, but it’s a popular DIY project. With time, kitchen sinks can become dull, stained, or scratched, making them an eyesore. Besides, replacing the sink can be expensive and time-consuming. In that case, painting the sink is a cost-effective and easy way to update the look of your kitchen without replacing the sink altogether.
But the question is can you paint a kitchen sink?
The direct answer is yes, you can paint a kitchen sink. Nevertheless, all types of sinks are not suitable for painting. Therefore, you have to choose the right kind of sink and paint. As well as have to take proper preparation to ensure a successful and long-lasting finish.
This article will discuss which type of kitchen sink you can paint. Moreover, give you the steps by step guideline involved in painting a kitchen sink and provide tips for achieving a durable and attractive finish.
Without further talk, let’s look at the type of kitchen sink you can paint and which paint is best for them.
Kitchen Sinks That You Can Paint and Ideal Paint Types
We already mention you can’t paint all sorts of kitchen sinks. This section will give you an idea about the sink you can paint. Therefore, the perfect paint for them.
1. Porcelain or Enamel Sink
We often come across the question can you paint a porcelain kitchen sink? The straightforward answer is yes, you can. Porcelain sinks can become discolored, stained, or outdated over time, and repainting them is a cost-effective idea. It will give them a fresh new look without having to replace them.
One of the advantages of painting a porcelain kitchen sink is that it can be customized to match your kitchen decor. To achieve the desired look, you can choose from various colors and finishes, such as glossy or matte.
However, there are also some drawbacks to consider. For instance, the painted surface may be less durable than the original porcelain finish. It may be prone to chipping or peeling rapidly. Additionally, some types of paint may not adhere well to the porcelain surface, which can cause the paint to bubble or crack.
Ideal Paint for Porcelain or Enamel sink:
Epoxy paint is a good choice for painting porcelain or enamel sinks. It creates a hard, durable finish that resists scratches, chips, and stains. You can also for these types of sinks.
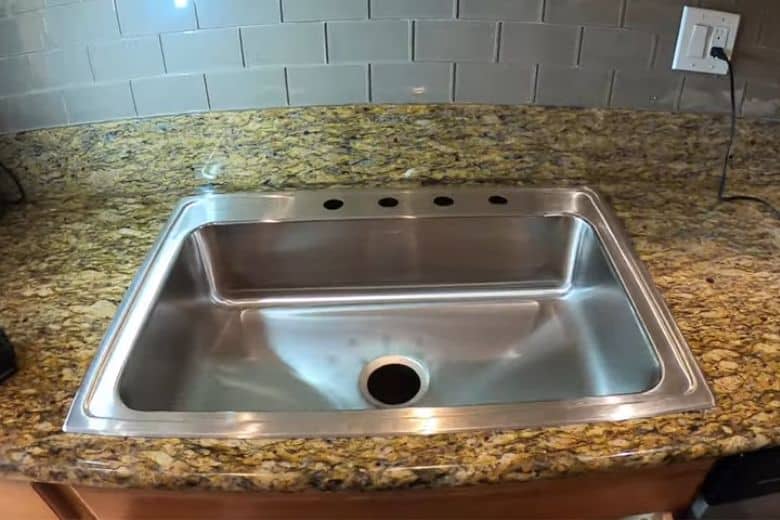
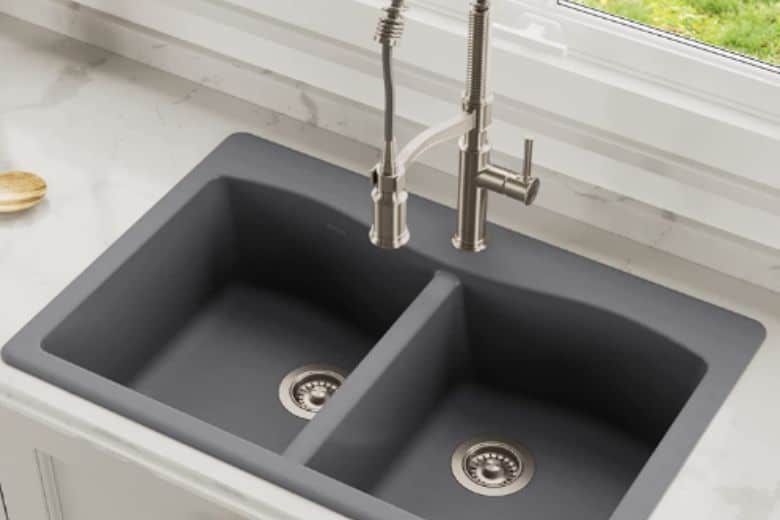
2. Stainless Steel Kitchen Sink
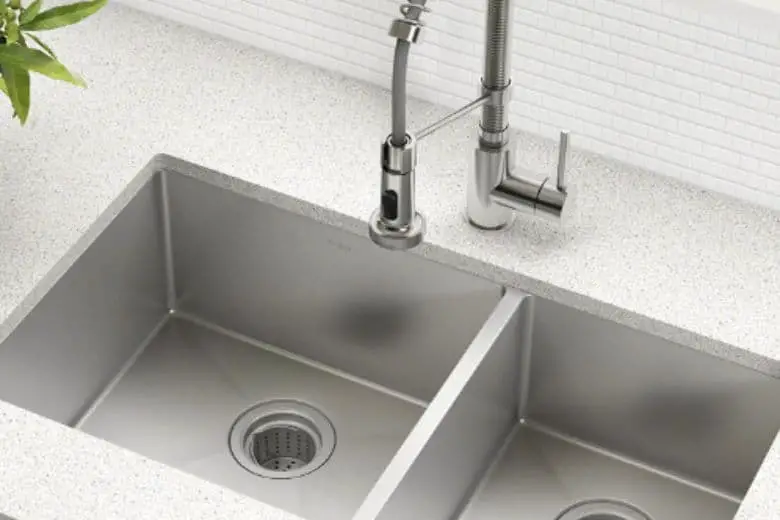
One of the most famous kitchens sinks now a day is stainless steel or metal sink. Can you paint a stainless-steel kitchen sink like a porcelain sink? However, you can do this, but there may be better options.
Stainless steel sinks are known for their durability and resistance to corrosion, and painting them may compromise these qualities. Moreover, stainless steel has a smooth, non-porous surface that may not bond well with paint, making it prone to peeling and chipping over time.
The advantages of painting a stainless-steel sink are that it can be an affordable way to give it a fresh new look. Additionally, repainting your will be good if your existing sink has scratches or stains and you want to cover them.
But the disadvantage is, painting a stainless-steel sink may not be as durable as the original finish. Furthermore, it may not withstand heavy use or frequent exposure to water and cleaning chemicals.
Ideal Paint for Stainless Steel Or metal Kitchen Sink:
For stainless steel or metal sinks, epoxy paint is the best option. It provides a durable, waterproof finish that resists scratches and chips.
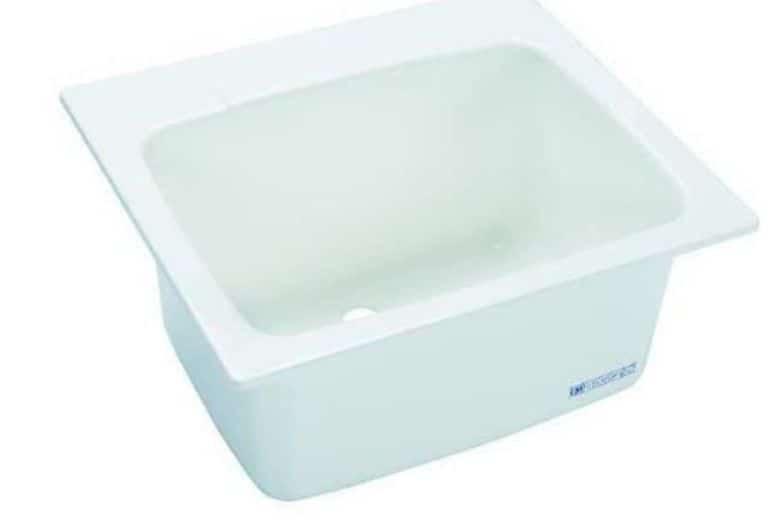
3. Plastic Kitchen Sink
Similar to the two types of sinks mentioned above, if your question is, “can you paint a plastic kitchen sink” then your answer is yes. Although possible, it is not a good idea. Plastic sinks can become discolored or stained over time. But if you think about money, painting them or buying a new one is almost similar.
However, the advantage of painting a plastic kitchen sink is that it can be affordable. Another advantage is that some types of paint can create a durable, scratch-resistant surface. Consequently, it gives long-lasting durability even after heavy use and frequent cleaning.
On the contrary, the main disadvantages of painting a plastic are it is designed to be non-porous, and paint may not bond well with the surface. Likewise, some types of paint may not be safe for use on plastic surfaces, and exposure to harsh cleaning chemicals may cause the paint to deteriorate.
Ideal Paint for Plastic Kitchen Sink
When painting a plastic sink, you need to choose a paint designed specifically for use on plastics. Epoxy or acrylic paint can work well for plastic sinks.
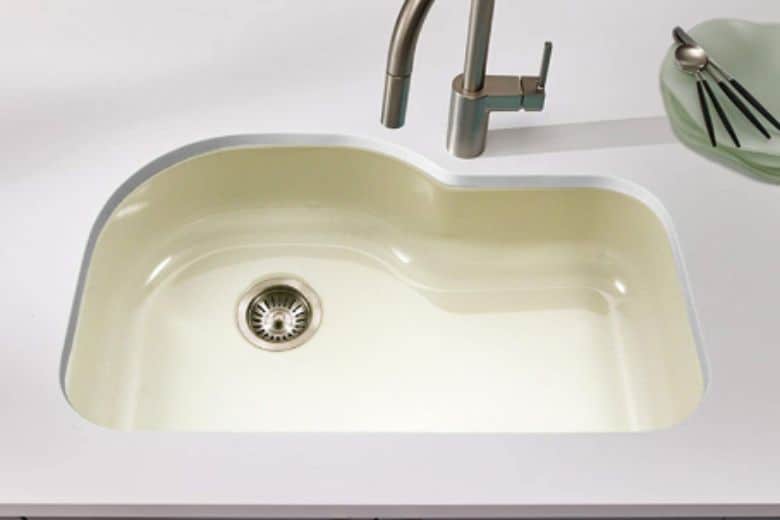
4. Earthenware or Stone Kitchen Sinks
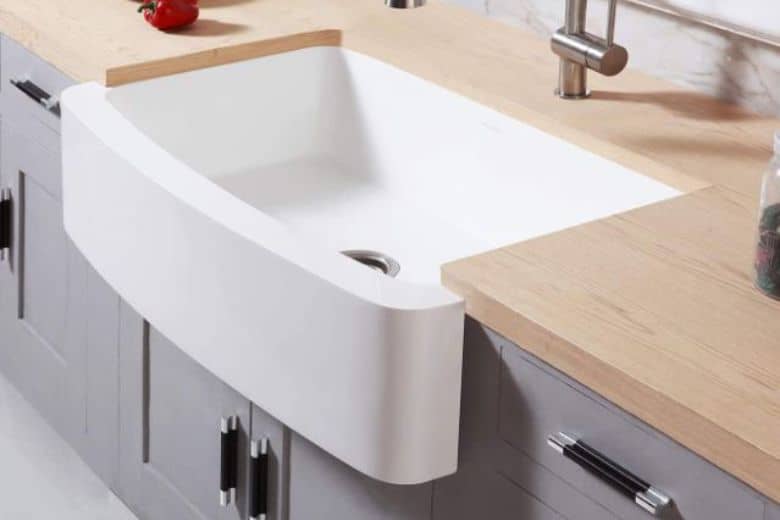
The next type of sink is an earthenware or stone sink. It is also known as ceramic or clay sinks. However you can paint this material sink, but you have to choose the paint carefully. These kinds of sinks are typically porous and can absorb water and other liquids. So it is essential to select a color that is waterproof and able to stand against frequent exposure to moisture.
Now at the point of advantage, it is a cost-effective way to update your kitchen sink’s appearance. Additionally, it can minimize the old sink’s stain and discoloration without spending a considerable penny.
Forward to the disadvantage, the painted surface has no long-lasting durability. It will be more prone to chipping, peeling, or scratching. Secondly, not all types of paint may adhere well to the earthenware surface. Lastly, maintaining a painted earthenware sink can be more challenging than maintaining an unpainted one. The painted surface may require gentler cleaning products and more frequent cleaning to prevent damage.
Ideal Paint for Earthenware or Stone Kitchen Sinks
To paint earthenware or stoneware sinks, you can use special ceramic paint. This type of paint is specially formulated to bond with the surface of ceramic materials and create a durable, long-lasting finish. It is available in various colors and can be applied using a brush or spray gun.
Another option for painting these types of sinks is epoxy paint. Epoxy paint is a durable and waterproof paint. It can be used on various surfaces, including earthenware and stoneware.
5. Fiberglass Kitchen Sink
It is possible to paint a fiberglass kitchen sink. Meanwhile, there are some important considerations to remember when painting a fiberglass sink. Firstly, it is vital to clean the sink thoroughly before painting it.
Next, there are many different types of paint on the market, but not all are suitable for fiberglass use.
One of the advantages of painting a fiberglass kitchen sink is that it can provide a new, fresh look. Besides, it can be a cost-effective option if you are on a budget or want to avoid the hassle of removing and installing a new sink.
On the other hand, the disadvantages of painting a fiberglass sink are that it may not be as durable as the original finish.
Ideal Paint for Fiberglass Kitchen Sink
For fiberglass sinks, acrylic paint is a good option. It is lightweight, dries quickly, and is easy to clean.
You can also use durable epoxy paint, which provides a hard, glossy finish that resists chipping and peeling. Therefore, epoxy paint is resistant to water and chemicals, making it ideal for use in a kitchen sink.
How to Paint a Kitchen Sink (Step-by-Step Process)
Proper preparation for painting your sink is necessary to get a fantastic finish and long-lasting durability. In this section, we will discuss the necessary steps for preparing your sink for painting. Moreover, share some tips for cleaning and sanding the sink to ensure free of any dirt, debris, or grime. Here are step-by-step instructions for how to paint a kitchen sink.
Materials you will need:
- Degreaser cleaner
- Sandpaper (fine grit)
- Patching compound
- Primer
- Paint (epoxy, enamel, or acrylic)
- Paintbrush or sprayer
Step 1:
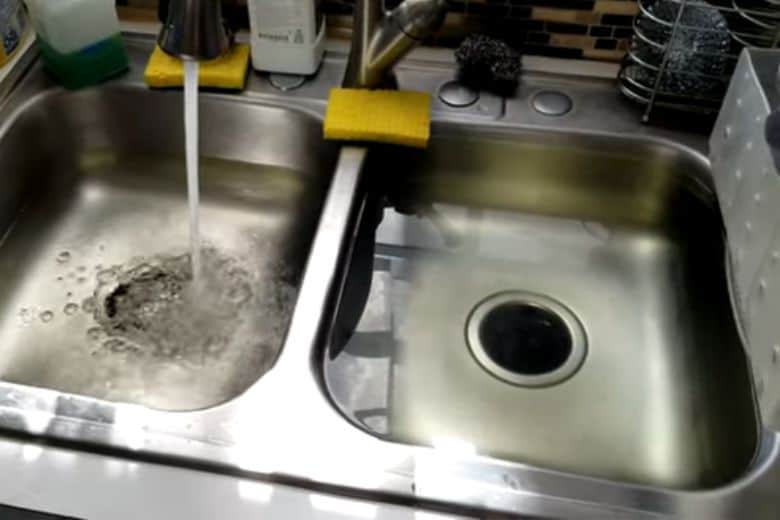
The first step in preparing your sink for painting is to clean it thoroughly. Start by removing any fixtures or hardware, such as faucets or drains that may be attached to the sink. Then, use a gentle cleaner or degreaser to remove any dirt, grime, or grease that may be present on the surface of the sink.
Ensure the sink is completely dry before moving on to the next step.
Step 2:
In step two, you need to fill any chips or scratches. If any are in the sink, fill them with a patching compound. Allow the compound to dry completely before sanding it down and wiping away dust.
Step 3:
Forwarding to the next move, start sanding the surface lightly. It will create a rough texture to help the paint adhere better to the sink’s surface. Use fine-grit sandpaper, such as 220-grit, to sand the sink in a circular motion.
Be sure to sand the entire sink surface, including any corners or hard-to-reach areas. After sanding, wipe the sink down with a clean, damp cloth to remove any dust or debris that may have accumulated.
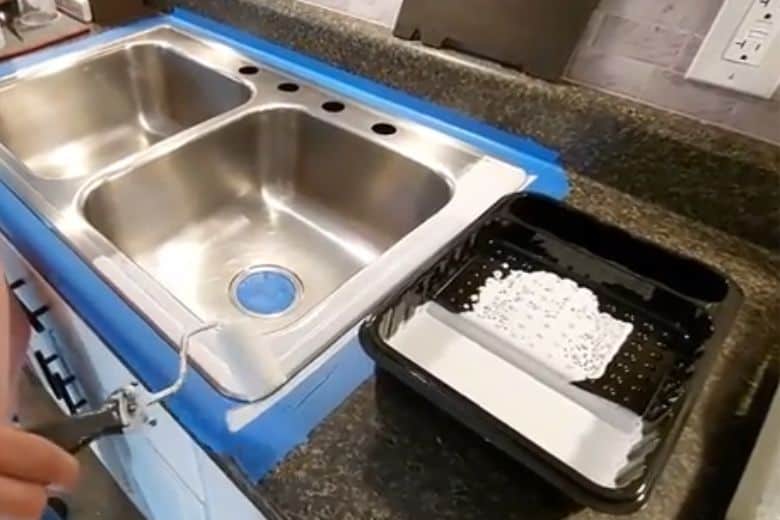
Step 4:
Apply a primer layer to the sink using a paintbrush or sprayer. Allow the primer to dry completely before moving on to the next step.
After sanding, the next step is to apply a primer to the sink. The primer will help the paint cling better to the sink’s surface. Besides, it will also help prevent the paint from chipping or peeling over time.
Choose a primer specifically designed for kitchen sinks, and follow the manufacturer’s instructions for application. Apply the primer in thin, even coats, and allow each coat to dry completely before applying the next one.
Step 5:
Apply the paint using a paintbrush or sprayer, and apply a coat of paint to the sink. Allow the paint to dry completely before applying a second coat if necessary.
Now it’s time to apply the paint to your sink and apply it in thin or even coats. Start by applying a thin layer of paint to the sink using a paintbrush or roller. Be sure to use long, smooth strokes and work outward from the sink’s center.
After the first coat has dried, similarly apply a second coat of paint. Depending on the type of paint you are using, you may need to apply a third or even fourth coat to achieve the desired finish.
Step 6:
Finally, allow the paint to cure completely, which may take several days, depending on the type of paint used. You must avoid using the sink during this time to allow the paint to fully harden and set.
Some Tips for Achieving a Smooth, Even finish on Your Painted Sink:
At the beginning of our article, we told you we would add extra tips to help you get a smooth painting finish. Have a look.
Use a high-quality paintbrush or roller: High-quality brushes and rollers will help you achieve a smoother finish with fewer brush or roller marks.
Sand Lightly Between Coats: After each coat of paint has dried, lightly sand the surface with fine-grit sandpaper. It will help to smooth out any brush or roller marks and create a smoother surface for the next coat of paint.
Apply the Paint in a Thin, Even Coat: Thin, even coats of paint will dry faster and are less likely to run or drip than thicker coats.
Use a Brush for Corners and Hard-to-Reach Areas: A small, angled brush is ideal for painting corners and other hard-to-reach areas.
Remove Painter’s Tape Carefully: When you’re done painting, carefully remove the painter’s tape to avoid pulling off any paint.
How to Care for Your Painted Kitchen Sink
Before painting your sink, you don’t need to take extra care. But after painting the sink, you need to take a few cautions to maintain its sustainability.
Use non-abrasive cleaners: When cleaning your sink, use non-abrasive cleaners. Since harsh chemicals or abrasive cleaners can damage the paint. Instead, use gentle cleaners, such as mild dish soap or baking soda mixed with water.
Avoid harsh chemicals: Avoid using harsh chemicals such as bleach or ammonia on your painted sink, as they can also damage the paint. If you need to use a stronger cleaner, test it on a small, inconspicuous area first to ensure it won’t harm the
Avoid abrasive cleaning tools: Avoid using abrasive cleaning tools such as steel wool or scrub brushes. Otherwise, you can use a soft cloth or sponge to clean your sink.
Dry your sink after use: After using your sink, always try to dry it thoroughly with a soft cloth or towel. It will help prevent water spots and keep your sink looking its best.
Be careful with heavy objects: Avoid placing heavy objects, such as pots and pans, directly on the painted surface of your sink. Instead, use a protective mat or dish rack to prevent scratches and damage.
The Advantage and Disadvantages of Painting a Kitchen Sink
Although painting a kitchen sink can be an excellent option for updating the look of your kitchen without the expense of replacing the sink. Despite that, there are some potential drawbacks to consider. Here are the pros and cons of painting a kitchen sink:
Advantage
- Painting a sink is generally less expensive than replacing the sink entirely.
- You can choose a color and finish that matches your kitchen decor and personal style by painting the sink.
- Painting a sink can be a relatively quick and easy process compared to the time and effort required to replace a sink.
Disadvantage
- Depending on the type of paint used, the finish on a painted sink may not be as durable as the original surface. Over time, the paint may chip, peel, or wear off.
- A painted sink may require more maintenance than an unpainted sink, as harsh cleaning chemicals and abrasive scrubbers can damage the finish.
- While painting a sink can be a temporary solution, it may provide a short-term update to your kitchen.
Frequently Ask Questions
Can I paint a sink that has already been painted?
Answer: Well, you can paint a sink that has already been painted. To do so, clean the sink thoroughly, sand it lightly, apply a bonding primer, and then apply a high-quality paint designed for use on porcelain or ceramic surfaces.
How long does the paint on a painted sink last?
Answer: The lifespan of the paint on a painted sink depends on various factors. Such as the quality of the paint, preparation, application process, and the amount of wear and tear the sink receives.
Generally, a well-painted sink with high-quality paint can last several years or even longer with proper care and maintenance. However, the paint may start to chip or peel over time, especially in areas that are exposed to a lot of water or abrasive cleaning products.
Can paint clog a sink?
Answer: Paint can clog a sink if large amounts of paint or paint solids are poured down the drain. The paint can harden and accumulate in the pipes, potentially causing a blockage. To prevent this, you have to dispose of any excess paint properly.
Therefore, letting it dry and then disposing of it in the trash or taking it to a hazardous waste disposal facility. Avoid pouring any paint or paint-related materials down the drain.
Can paint stain a sink?
Answer: Yes, paint can stain a sink if it is not cleaned up promptly after contact with the sink’s surface. It’s important to cover the sink with a protective layer and clean up any spills or drips as soon as possible to prevent stains.
Conclusion
In summary, you indeed get the answer to the question, “can you paint a kitchen sink.” Well, painting a kitchen sink can be a cost-effective and customizable option for updating the look of your kitchen. However, there are potential drawbacks to consider, such as durability and maintenance. So carefully think about both advantages and disadvantages before your final approach.
Meta description
Can you paint a kitchen sink? The question is simple, but you need to consider a few things to get a proper answer.
Paul Newman is a blogger who writes about plumbing and home improvement. Over the past 20 years, I have worked as a plumber. My passion is to share my knowledge and experience with others to improve their homes.