
Do your faucet base keeps coming loose? If yes, then you have come to the right place. Since in this article, we will discuss why kitchen faucets become detached and how to fix a loose faucet base at home with minimal effort and tools.
However, the faucet base can be loose for various reasons, such as wear and tear, loose nuts and bolts, or improper installation. If left unchecked, a flexible faucet base can lead to more serious plumbing issues in the long run.
So, you must fix it as soon as possible to avoid further damage to your sink and unnecessary costly water bills.
Before detailed description, let’s find out some signs that indicate a loose faucet base:
- At the time you turn on your faucet and find it moves around or wobbles then, its likely the base become loose.
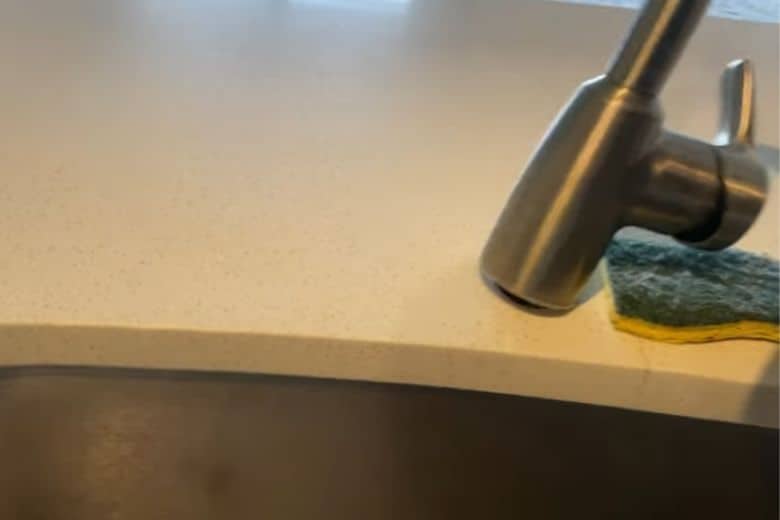
- When you see water coming out from the bottom of the tap, the base is loose and needs tightening.
- You may also hear a squeaky or rattling noise when you turn the faucet on or off. It could be a sign that the base is loose.
- If your kitchen faucet is hard to turn on or off, it could also be a sign that the bottom of the tap is loose.
How to Fix a Loose Faucet Base (Step-by-Step Method)
We will provide step-by-step instructions on how to fix a loose faucet base, including the tools and materials you will need. Besides, we also cover some common mistakes to avoid and offer tips for preventing the problem from happening again.
Before starting the process, you must gather a few tools and materials. Here’s a list of everything:
Step 1:
Turn off the water supply. Locate the water supply valves under the sink and turn them off. It will prevent any water from flowing while you are working.
Step 2:
Next remove the handle. Depending on the type of faucet you have, you may need to remove a screw or cap to access the handle. Use a Screwdriver to remove any screws or caps that are holding the handle in place. If the handle is stuck, try using a handle puller to remove it.
Step 3:
After removing the handle, you will get access to the trim pieces. Again, use a screwdriver to remove any screws or bolts holding the trim in place. If you can’t see any screws, the trim might be secure with clips that can be removed by carefully prying them off with a flathead screwdriver.
Take it out by unscrewing any screws or bolts holding it.
Step 4:
With the handle and trim removed, you should have access to the faucet base and the screws that need to tighten. It’s usually located directly under the handle. Examine the bottom to see if any parts are damaged or worn and need replacement.
Step 5:
Moving forward, use an adjustable wrench to tighten the mounting nut by turning it clockwise. Be careful not to overtighten, as this can cause damage to the faucet or sink.
Step 6:
Before reassembling the handle and trim, check if any parts are damaged or worn and need replacement. If so, replace them before continuing.
In that case, you must remove the cartridge or O-ring to access the mounting nut. Ensure to insert it back into place before reassembling the handle and trim.
Therefore, if your faucet has an escutcheon plate, screw it back into place.
Step 7:
Once the mounting nut is tightened, reassemble the handle and trim pieces in the reverse order that you removed earlier. Make sure to tighten any screws or bolts securely, but again, be careful not to overtighten.
Step 8:
After reassembling the handle and trim, turn the water supply back on and test the faucet; it’s working correctly.
When the faucet is turned on, check for any leaks or drips. If there is still a leak, you may need to replace the O-ring or cartridge.
Few Tips and Tricks:
Test your Faucet Base: After completing the above mention step, it’s time to test the faucet base. To test your faucet, turn on the water supply and run the tap for a few minutes. See if the faucet is still loose or wobbly. If the faucet is still loose, try the following troubleshooting technique:
Analysis of Mounting Nuts: Ensure the mounting nuts are tight enough. If they are not, tighten them a bit more until the faucet is secure.
Test the Washers: When the faucet is still loose, the problem may be due to worn-out washers. Replace worn-out washers with new ones.
Use Plumber’s Putty: You can use plumber’s putty to seal any gaps between the faucet and sink. Apply a small amount of putty around the base of the faucet before tightening the mounting nuts.
Get Professional Help: Despite all of these troubleshooting tips and tricks, if the faucet base is still loose, you need to call a professional plumber. They will be able to identify the root cause of the problem and recommend the best course of action.
How to Prevent the Issue from Happening Again in the Future
You might wonder why you need to know this. You have tightened your faucet base, which might be stable now. Despite this fact, you should follow the below point so that it will never happen. Have a look.
Proper installation: Ensure the faucet is installed correctly, according to the manufacturer’s instructions. Improper installation can cause a loose faucet base.
Regular maintenance: Schedule regular maintenance for your faucet to catch any potential issues before they become a problem. Check the mounting nut periodically and tighten it when it feels loose.
Clean the area: Always try to wipe down the area around the faucet with a dry cloth to remove any excess water and debris. It will help prevent mold and mildew growth.
Check for leaks: Turn on the water and check for any leaks around the base of the faucet. Whereas you notice any leaks, again tighten the base or consider replacing the faucet.
Refrain from overtightening: It’s vital to ensure the mounting nut is secure. Be careful not to overtighten it, which can damage the faucet or cause leaks.
Test the handle: Make sure the faucet handle turns smoothly and doesn’t feel loose or wobbly. If the faucet handle is hard to turn, recheck the connections to understand everything is tightened correctly.
Consider replacing the O-ring or cartridge: Afterward, you constantly tighten the mounting nut, and the faucet still feels loose. The issue may be with the O-ring or cartridge. Consider replacing these parts to fix the problem.
Frequently Ask Questions
Is there a special wrench for faucets?
Answer: There is a special wrench for faucets called a basin wrench. Its design to fit into tight spaces and grip the mounting nuts of a tap to make installation and removal easier.
Can a loose faucet base cause other problem?
Answer: A loose faucet base can cause problems such as leaks, reduced water pressure, and damage to the surrounding area. The movement can also cause wear and tear on the connections and potentially lead to more significant damage if not addressed.
What is a faucet trap?
Answer: There is no such thing as a “faucet trap.” However, a part called a “P-trap” is a necessary component in a sink’s drainage system to which the faucet is connected. The P-trap is a curved pipe that traps water and prevents sewer gases from entering a building.
Conclusion
A loose faucet base can be frustrating, but it is relatively easy to fix. However, our above mention guide will undoubtedly help you how to fix a loose faucet base. Setting a flexible faucet base with the right tools and patience can be a simple DIY task.
Paul Newman is a blogger who writes about plumbing and home improvement. Over the past 20 years, I have worked as a plumber. My passion is to share my knowledge and experience with others to improve their homes.


